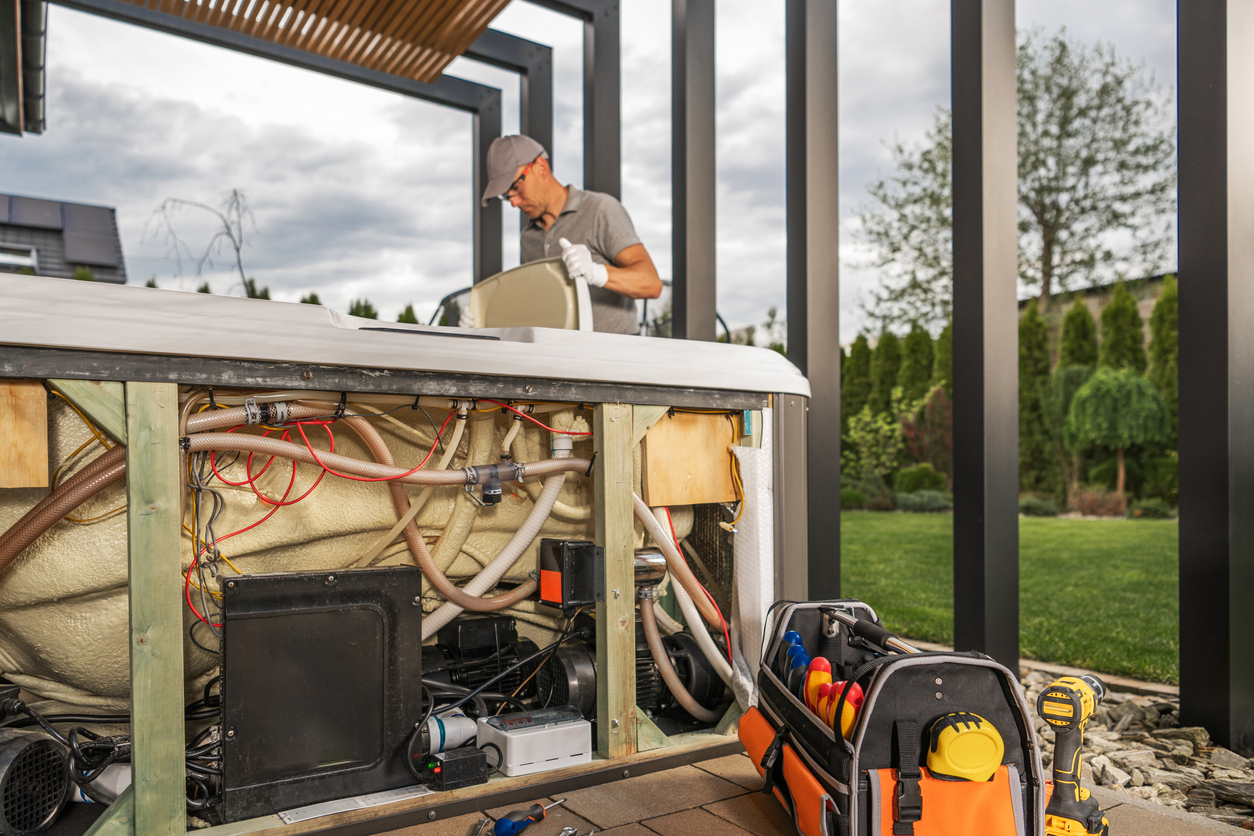
5 Basic Electrical Repairs You Can Handle Without an Electrician
It’s annoying when the lights cut out or half a room suddenly stops working. The first thought is often, “Do I need to call an electrician for this?” The truth is, not always. At Rhema Electric, we don’t want you wasting money on something you can troubleshoot in minutes.
Some of the most common electrical repairs are simple, safe fixes that anyone can learn. When you know how to handle them, you can save yourself the stress of an unnecessary service call.
And if the problem turns out to be bigger than a quick fix, our experienced team in Burlington, WA, always has you covered.
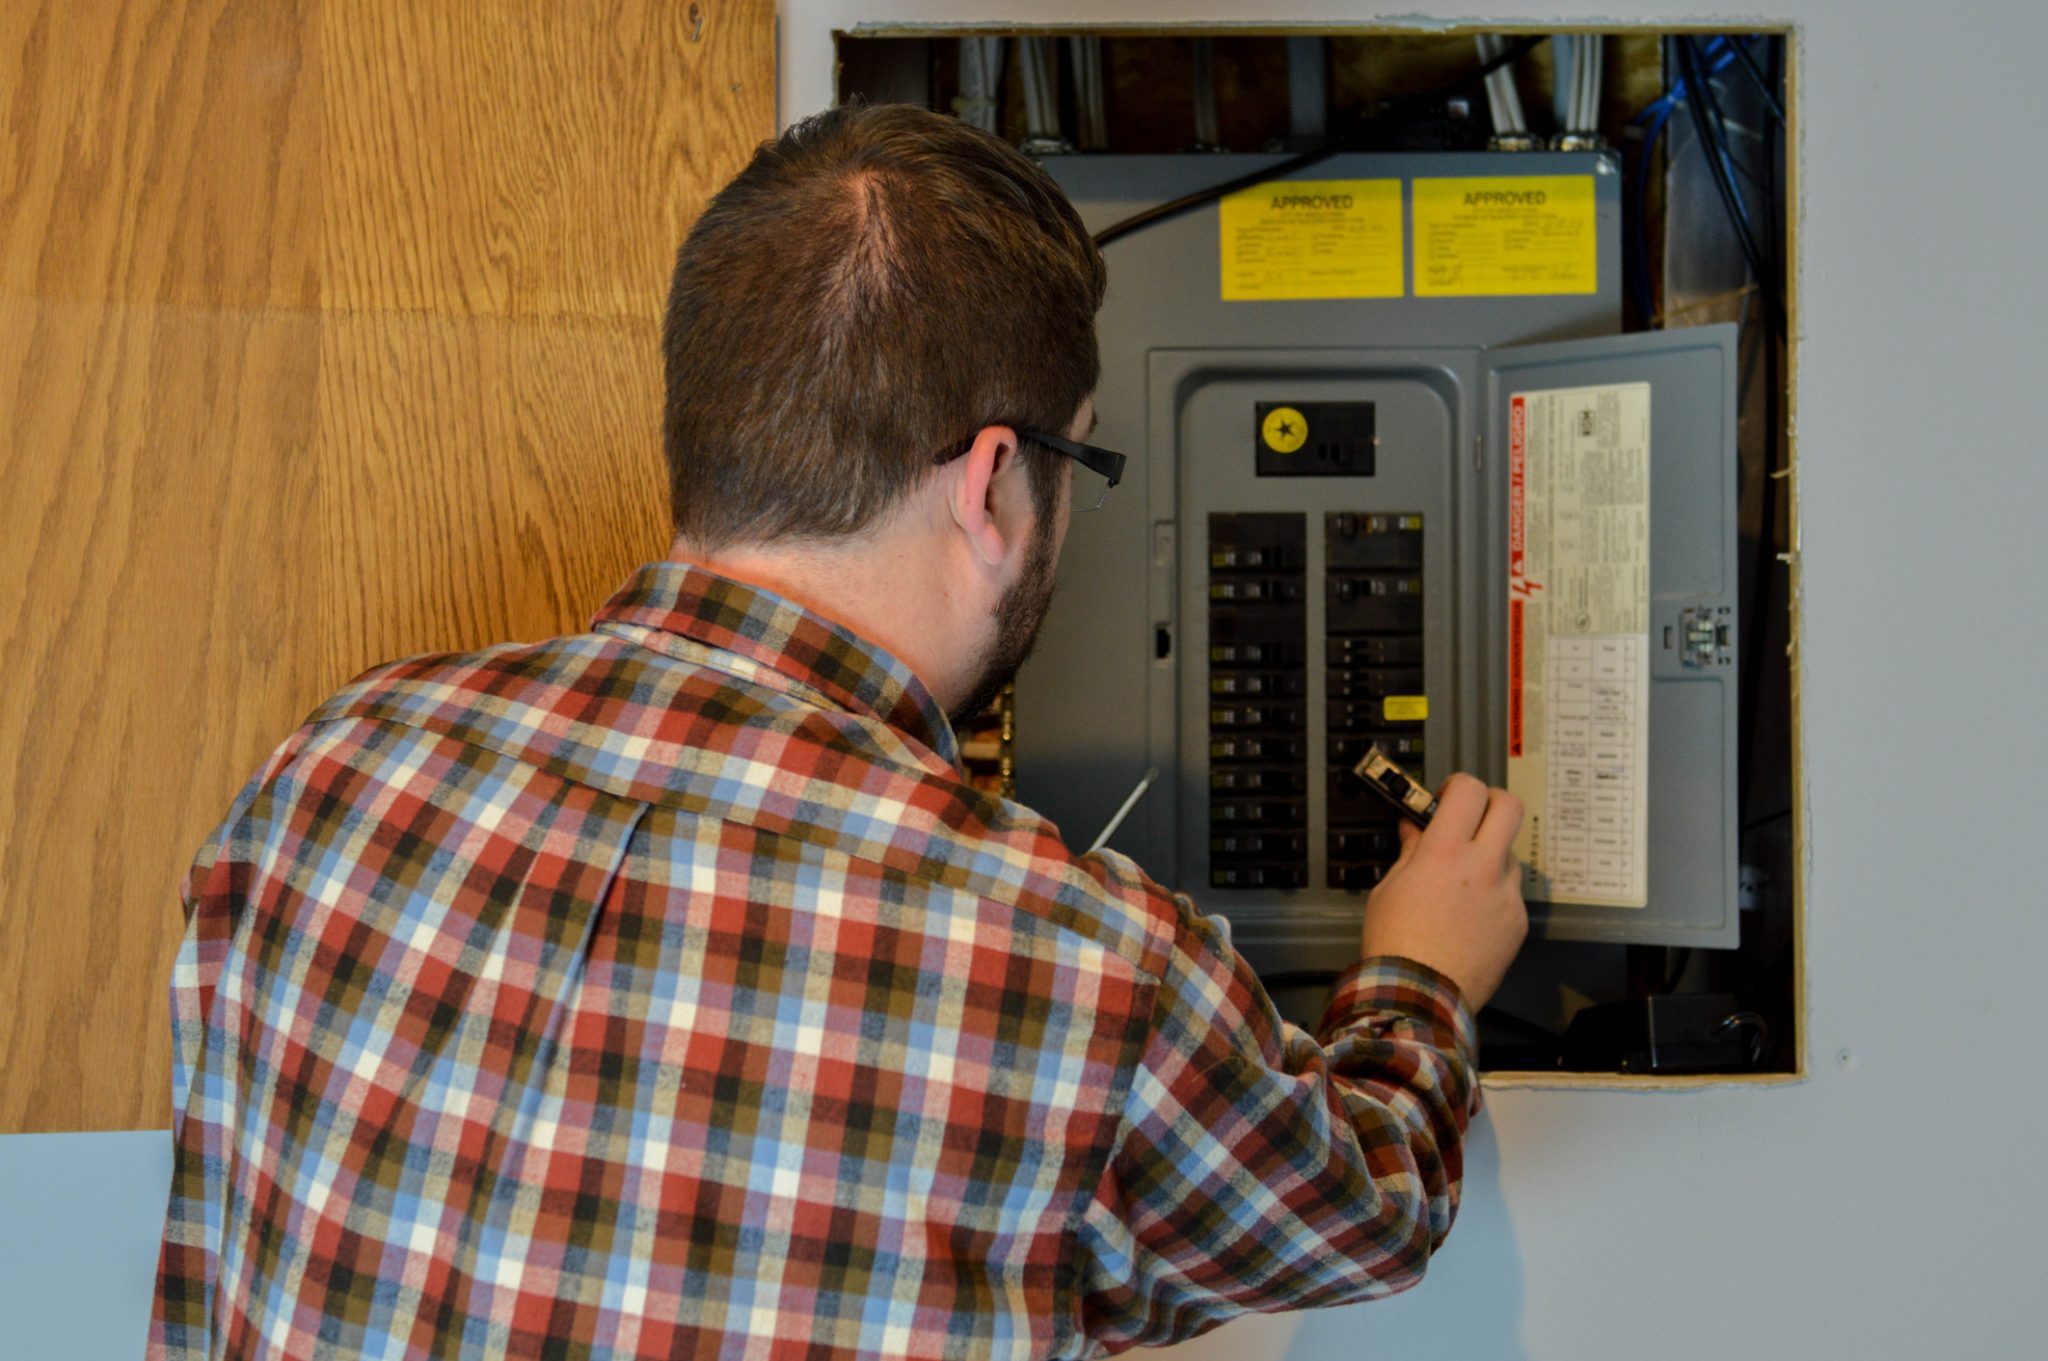
1. Resetting a Tripped Circuit Breaker
If the TV goes blank during your favorite show or the kitchen goes dark while you’re cooking, don’t panic. Chances are, you’re just dealing with a tripped circuit breaker.
Breakers are like the referees of your home’s electrical system; they step in and stop the game when things get too intense. Their job is to cut power before wires overheat or cause bigger problems.
Why Breakers Trip in the First Place
Most of the time, it’s just a matter of too many devices plugged into the same line. Have you ever had the coffee maker, toaster, and microwave running at once? That’s a recipe for an overload.
Breakers can also trip if a single appliance has a fault or if there’s a minor short in the wiring.
How to Reset a Breaker
- Head to your electrical panel. It’s usually found in your garage, basement, or utility room.
- Look for the breaker switch sitting halfway between “on” and “off.” That’s your culprit.
- Push the switch all the way to “off” first (don’t skip this step as it helps the breaker fully reset).
- Flip it back to “on” with a firm motion.
- Go back to the room or outlet to check that power has been restored.
If it resets easily, you’re back in business. If it trips again right away, unplug a few devices and try again. If your breaker keeps tripping, it may be a bigger problem that requires a professional inspection.
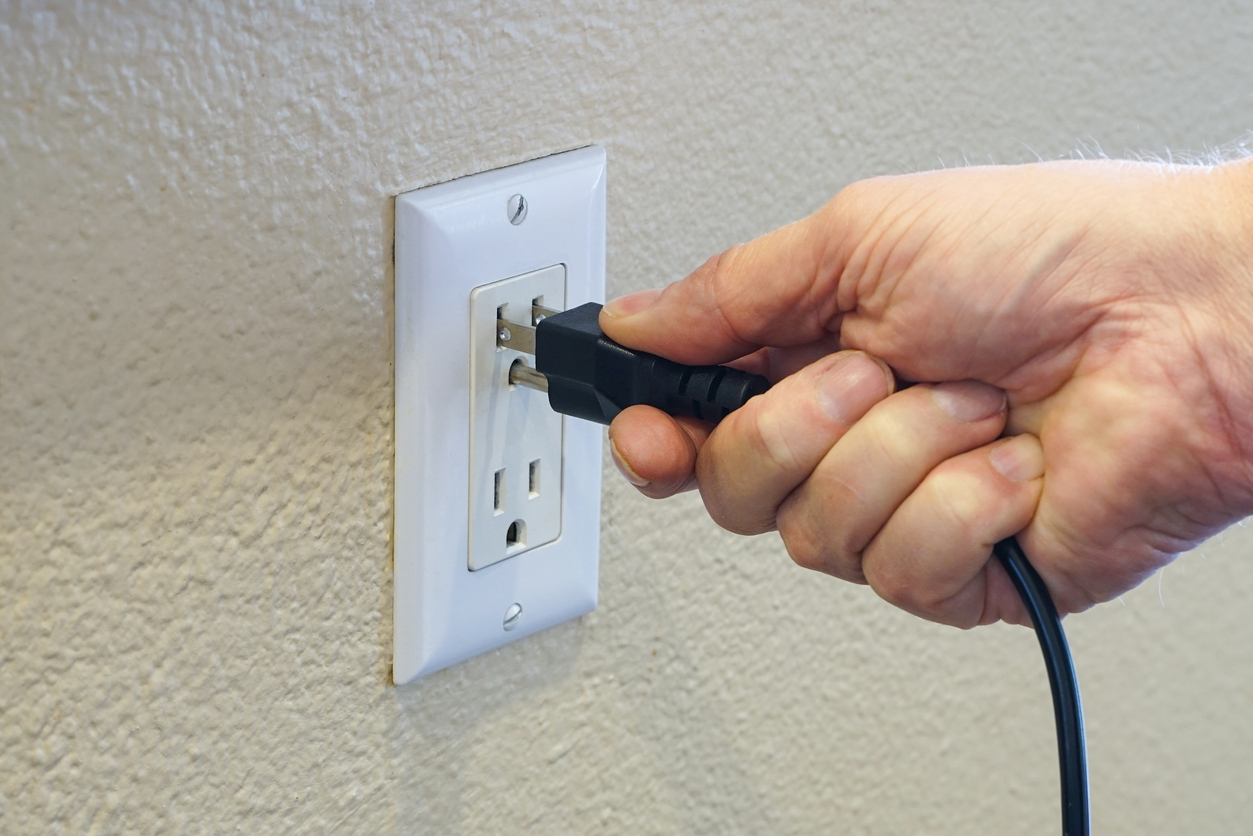
2. Fixing a Loose Outlet
When plugs slip out easily or the outlet shifts inside the wall, it is a sign of a loose connection. This issue might seem minor, but movement can place stress on the wires and increase the risk of sparks.
Learning how to fix a loose outlet is a simple way to make your home safer and keep outlets working properly.
Signs of a Loose Outlet
An outlet that moves when touched, or one where the faceplate does not sit evenly against the wall, usually needs adjustment. If you notice this, it’s best to fix it right away before it causes additional problems.
How to Fix a Loose Outlet
- Find your home’s breaker panel. Look for the breaker that controls the room with the outlet and switch it to the off position.
- To make sure the power is off, plug a small lamp or device into the outlet.
- If it doesn’t turn on, it’s best to take the extra step of using a voltage tester. Place the tester’s probes into the outlet slots. A reading of zero confirms it is safe to proceed.
- Remove the outlet’s cover plate with a screwdriver.
- Tighten the screws that hold the outlet in place inside the electrical box.
- If the outlet sits too far back, use outlet shims*.
- Reattach the cover plate securely and switch the breaker back on.
Once secured, the outlet should hold plugs firmly without movement. This small repair makes daily use easier but also lowers the chance of overheating or arcing inside the wall.
*Outlet shims are thin plastic spacers that slide over the outlet’s mounting screws to move it forward. Shims can be stacked until the outlet sits evenly with the wall surface. You can find outlet shims at your local hardware store or home improvement center, usually in small, inexpensive packs.
3. Replacing a Faulty Light Switch
Light switches get flipped on and off thousands of times over the years, so it is no surprise when one eventually gives out. A switch that no longer works can be frustrating, especially when it leaves you standing in a dark room.
The good news is that swapping out an old switch for a new one is a straightforward project that most homeowners can take on with a little patience.
Signs a Switch Needs Replacing
The easiest clue is a switch that simply does not turn the light on anymore. Other signs include lights that flicker when you flip the switch or a switch that feels loose instead of clicking firmly into place.
Keep in mind, flickering lights can also be caused by wiring issues or an overloaded circuit, so if you replace the switch and still notice your lights flickering, it’s best to call an electrician for help.
How to Replace a Light Switch
- Find the breaker that controls the switch and turn it off.
- Test the switch to make sure the light does not turn on.
- Remove the faceplate with a screwdriver.
- Unscrew the switch from the box and pull it forward carefully.
- Take note of the wire connections. A quick photo on your phone is an easy way to remember.
- Disconnect the wires from the old switch and attach them to the new one in the same spots.
- Push the switch back into the box, tighten the screws, and put the faceplate back on.
- Turn the breaker back on and test the switch.
Replacing a worn-out switch gives you back control of your lighting and makes everyday life a little smoother.
4. Resetting or Testing GFCI Outlets
If you have ever plugged in a hair dryer in the bathroom or a toaster in the kitchen only to find the outlet suddenly stops working, chances are you are dealing with a GFCI outlet. These outlets are built with extra safety features to protect you in areas where water and electricity are close together.
Learning how to reset and test them is an easy way to keep your home running smoothly.
Why GFCI Outlets Matter
GFCI stands for Ground Fault Circuit Interrupter. These outlets shut off instantly if they sense even a small imbalance in the current, which helps prevent shocks. You’ll find them in bathrooms, kitchens, garages, and outdoor spaces.
How to Test or Reset a GFCI Outlet
- Unplug any devices connected to the outlet.
- Look for the two small buttons in the center of the outlet, usually labeled “reset” and “test.”
- Press the “reset” button firmly to restore power.
- To check the safety function, press the “test” button. The outlet should click off and stop working.
- Press “reset” again to turn it back on.
If the outlet doesn’t reset or if it trips again right away, that’s a sign it may need to be replaced.
5. Replacing Light Bulbs or Outlet Covers
A flickering lamp or a cracked outlet cover can be annoying to look at, but the good news is, it’s also easy to take care of. These small updates fall into the category of basic electrical repairs that require little more than a steady hand and a screwdriver.
Replacing a Light Bulb
Light bulbs that flicker or burn out quickly can usually be fixed with a fresh bulb of the right wattage. Always turn the fixture off before replacing a bulb. Let the old bulb cool, then twist it out gently. Screw the new bulb in snugly (but not too tight). A secure connection helps prevent future flickering.
Replacing an Outlet Cover
Outlet covers often get cracked, discolored, or paint-splattered over time. Swapping one out is quick:
- Switch off the power to the outlet at the breaker.
- Remove the single screw holding the cover plate in place.
- Position the new cover plate and tighten the screw.
- Restore power at the breaker.
Replacing lightbulbs and outlet covers doesn’t take much time and can go a long way in helping your home feel more comfortable and well cared for.
Tools Every Homeowner Should Keep Handy
Tackling small electrical problems is much easier when you have the right tools close by. You don’t need a full electrician’s kit, just a few basics that make troubleshooting safe and straightforward.
- Voltage tester: Confirms power is truly off before you touch wires or outlets.
- Screwdriver set: Both flathead and Phillips sizes are essential for cover plates, switches, and outlets.
- Flashlight: Helps you see clearly in dark corners or during a power outage.
- Needle-nose pliers: Useful for bending or holding wires securely.
- Wire strippers: Make replacing switches or small wiring connections much simpler.
- Outlet shims: Handy spacers for fixing loose outlets so they sit flush with the wall.
- Small step ladder: Necessary for safely changing light bulbs or reaching ceiling fixtures.
Keep these tools in one place, and you can quickly and confidently take care of basic electrical repairs at home.
When to Call an Electrician
Some problems go beyond home electrical troubleshooting and require licensed expertise. Call a professional right away if you notice:
- Frequent breaker trips: A sign of overloaded circuits or wiring issues that require more than a quick fix.
- Burning smells, sparks, or smoke: Clear fire hazards that should never be ignored.
- Flickering or dimming lights: Can be caused by loose wiring or panel problems.
- Warm or buzzing outlets and switches: Signals of failing or unsafe connections.
- Frayed, exposed, or outdated wiring: Requires replacement for safety and code compliance.
The difference between a quick repair and a dangerous problem is often knowing when to call an expert.
Quick Electrical Fixes for Everyday Peace of Mind
A few simple repairs are manageable for homeowners who feel comfortable giving them a try. Resetting a breaker, tightening an outlet, or replacing a switch can often be done safely with patience and the right tools.
When uncertainty creeps in, the safest move is to call a licensed electrician. Tackle the right projects yourself to build confidence, but leave the complex or risky issues to the experts to keep your home protected!
Get Expert Electrical Help in Western Washington When DIY Is Not Enough
Simple fixes are worth trying, but some problems need the expertise of a professional electrical contractor. Rhema Electric has served Western Washington since 2005 with safe, reliable solutions for your home’s power needs.
Call (360) 416-8227 or contact us online for service in Burlington, Seattle, Bellevue, Marysville, Mount Vernon, Bellingham, Everett, and communities throughout Skagit, Snohomish, and King counties.
Related Posts